Ultrasonic Distance Sensor + OLED Graphics
Ultrasonic Distance Sensor + OLED Graphics
TAC 348 - Making Smart Devices
Learning Objectives
- Explain how an ultrasonic sensor uses sound and echo time to measure distance
- Use
pulseIn()and the speed of sound to calculate distance - Explain how monochrome images are stored as bitmap arrays
- Prepare a bitmap for a 64 x 48 OLED screen
- Describe how sensor data can control text and graphics on a display
Ultrasonic Distance Sensor
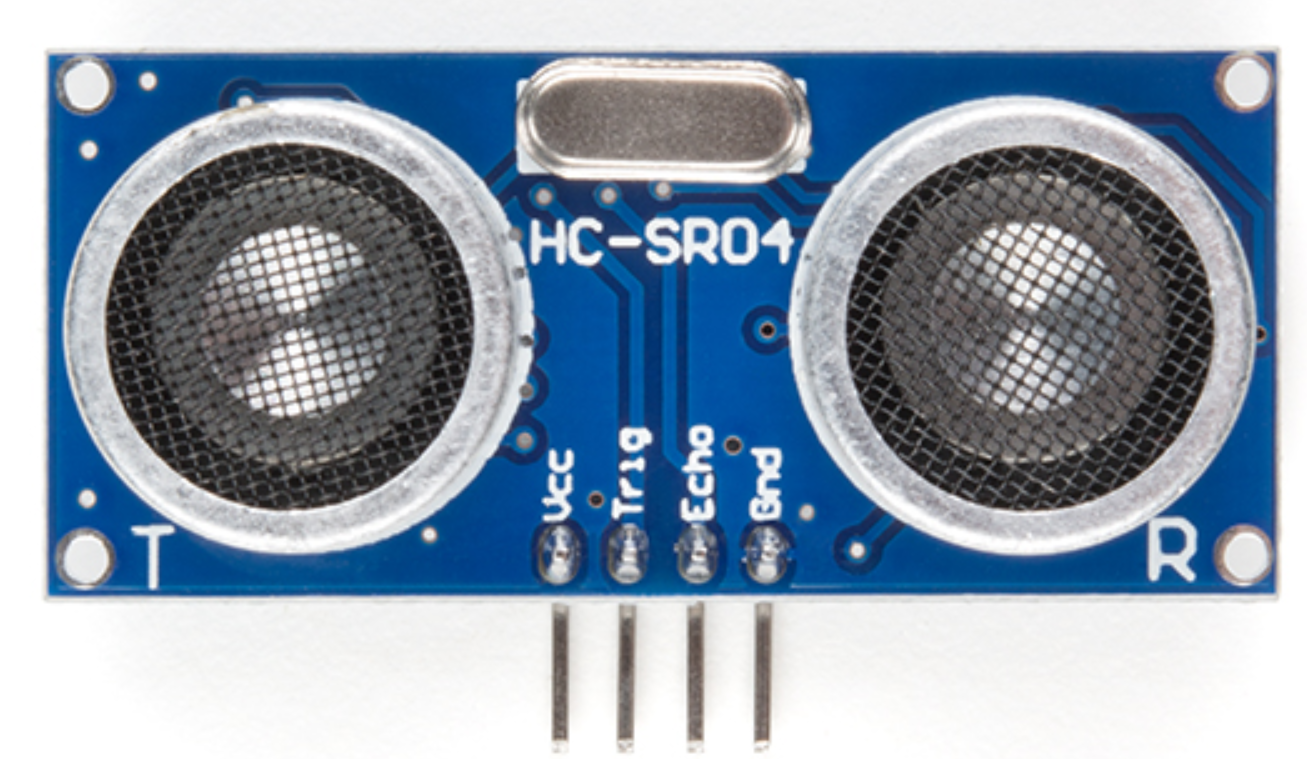
Ultrasonic Distance Sensor
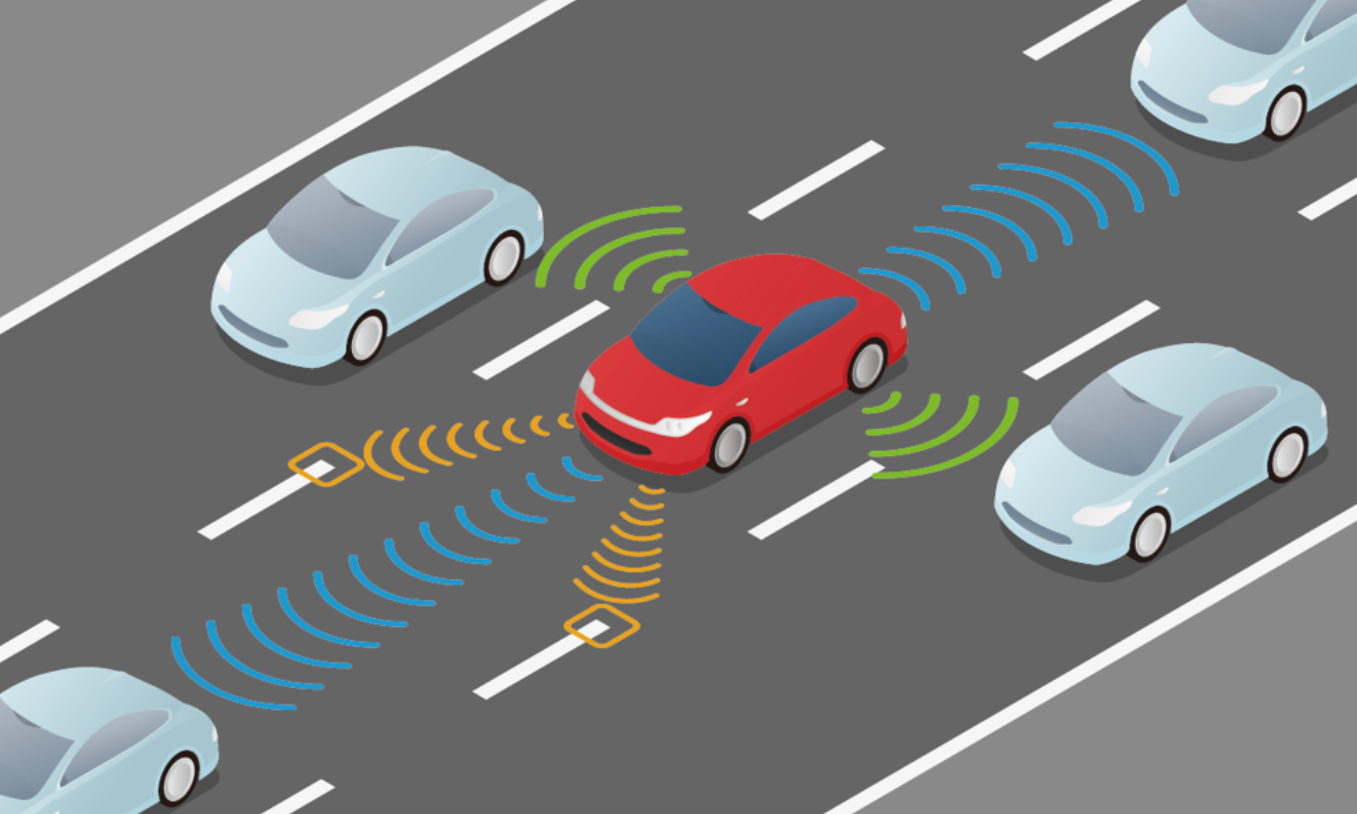
- Like SONAR!
- Sends 40 KHz sound pulses (higher than human hearing)
- Waits for return sound wave (“echoes” or bounces off nearby objects)
- Distance to object can be calculated
Uses
- Auto-range finder
- Self-parking cars
- Obstacle avoidance
- Autonomous vehicles
- Fun fact: This is how dolphins and bats navigate
Parameters
- Operating range
- Officially: 2 cm - 4 m (1 in - 13 ft)
- More reliable range: 5 cm - 2 m (2 in - 6.5 ft)
- Angle
- 15 degrees
Sensor Pins
| Sensor | Photon 2 | Function |
|---|---|---|
| GND | GND | Ground |
| VCC | VUSB | Power (requires 5V, but will work with a 3.7V LiPo battery) |
| TRIG | Output Pin | Start output pulse sequence |
| ECHO | Input Pin | Receive reflection response |
Timing Diagram
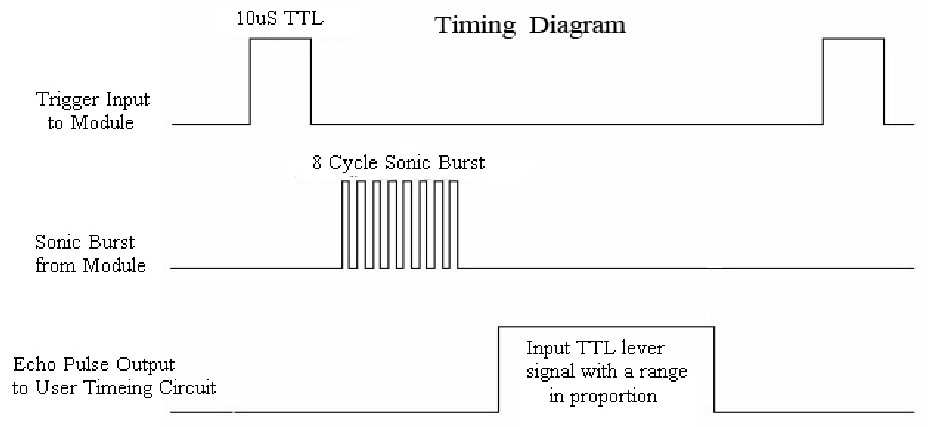
Timing Part 1: Trigger
- Output sequence
- LOW for 2 microseconds
- HIGH for 10 microseconds
- LOW
delayMicroseconds(<<DELAY_VAL>>);
- Sensor sends out 8 sonic pulses
Timing Part 2: Echo
- Sensor “listens” for the sound wave to reflect / bounce off an object
- When the reflection is received, the ECHO pin goes HIGH for the duration of the reflection and then goes LOW
- Use
pulseIn()to measure how long the input remains HIGH
Measure Time with pulseIn()
- Syntax
// Measure time in microseconds
// Returns 0 if no signal is received before the timeout
int time = pulseIn(<<PIN>>, <<VALUE>>);
- Example
// Start timing when D2 is HIGH
// Stop timing when D2 is LOW
int time = pulseIn(D2, HIGH);
Calculating Distance
pulseIn()returns the round-trip time for the sound to reach an object and return- Speed of sound at 20°C (68°F) = 343.5 m / s
- How do we calculate the one-way distance?
Calculating Distance: Formula
- Speed of sound = 0.03435 cm / microsecond
- Divide by 2 because the measured time includes the trip to the object and back
distanceCm = echoTime * 0.03435 / 2;
distanceIn = distanceCm * 0.393701;
Cautions
- Sound waves can reflect off surfaces in the room and give incorrect readings
- Air conditioning vents and other nearby ultrasonic sensors can cause interference
- There should be a 500 ms delay between readings
OLED Screen Graphics
Screen Parameters
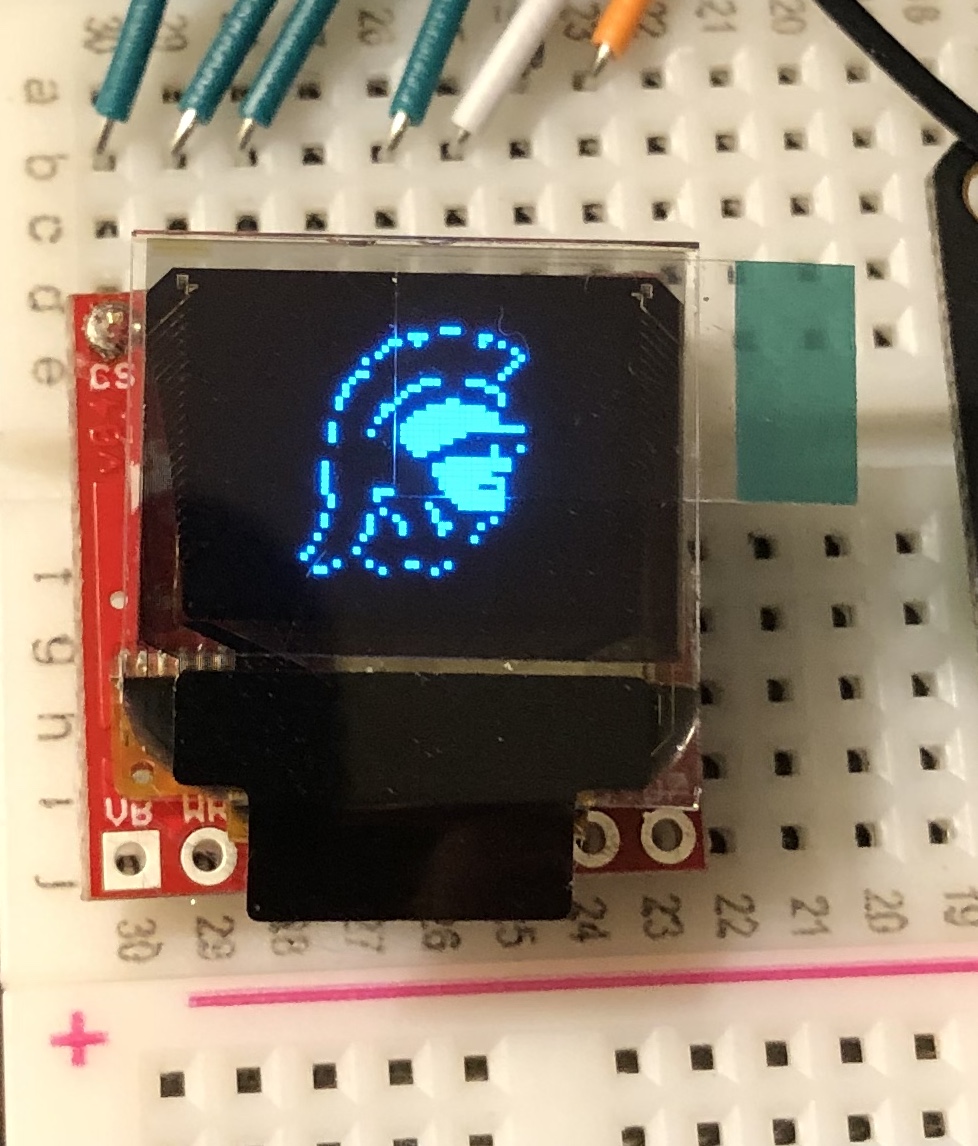
- OLED screen consists of 64 (W) x 48 (H) pixels (3,072 total pixels)
- 3,072 pixels means 3,072 bits (ON or OFF) are needed to display a full image
- 3,072 bits is 384 bytes (8 bits = 1 byte)
- Each pixel is either ON (HIGH) or OFF (LOW) because there is only one color
- We can display images on the screen in a bitmap format
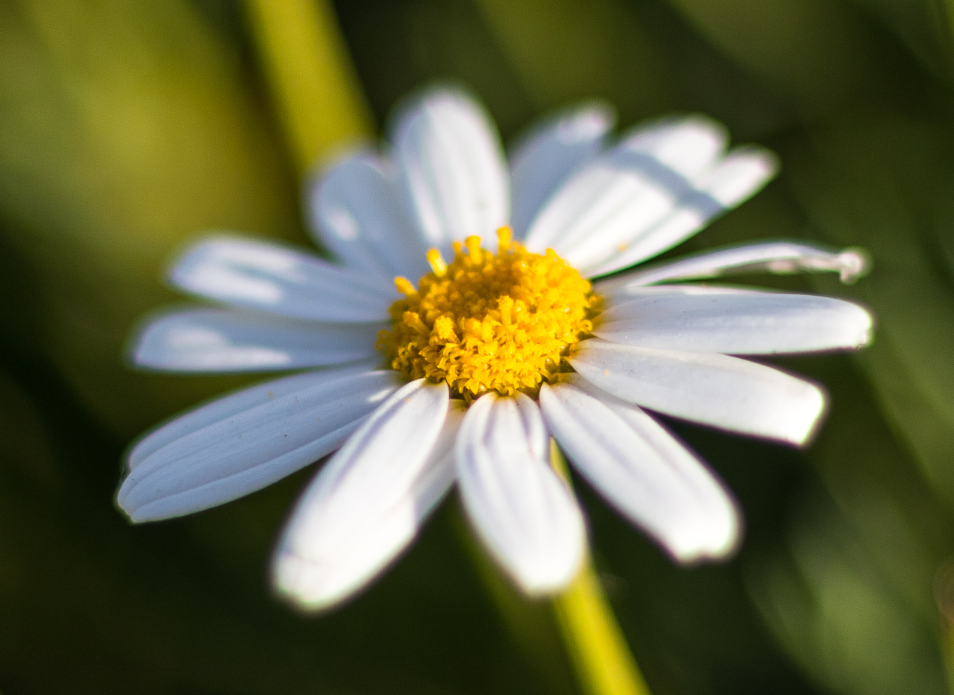
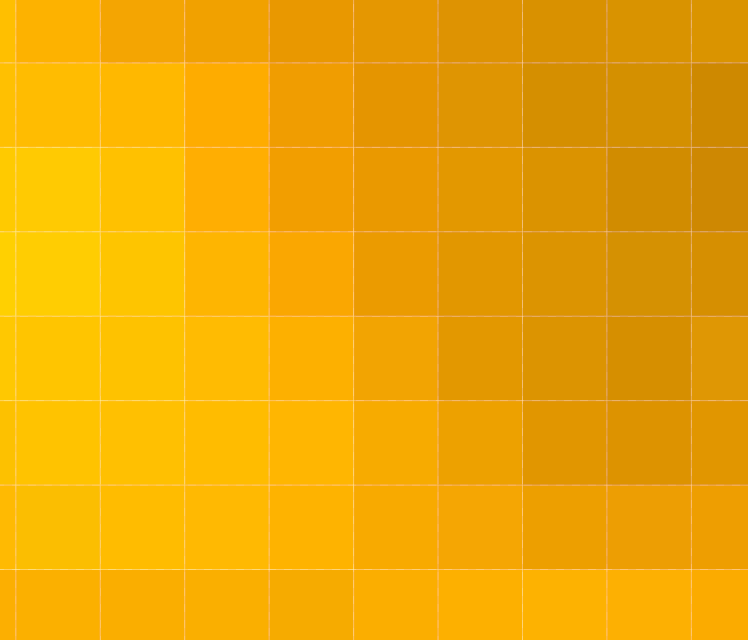
Pixels
| Original Image | Image Closeup to Show Pixels |
|---|---|
 |
 |
Bitmap
- Bitmaps are stored as large arrays of bytes
- In a monochrome image, there is one bit per pixel
- 64 pixel x 48 pixel images = 3,072 bits = 384 bytes
- Example:
const uint8_t heart_bmp[] = {
  0x00, 0x00, 0x00, 0x00,
  0x00, 0x00, 0x00, 0x80,
  0xe0, 0xf0, 0xf8, 0xfc,
  ... };
Creating Bitmaps
- Use a tool to convert an image to a byte array
- Color restrictions
- Each image should be black and white
- Color and greyscale can work, but not well
- Image size
- Use small or actual-size images for better conversion to a bitmap
Example Images
| Original Black / White Image | Bitmap on OLED |
|---|---|
 |
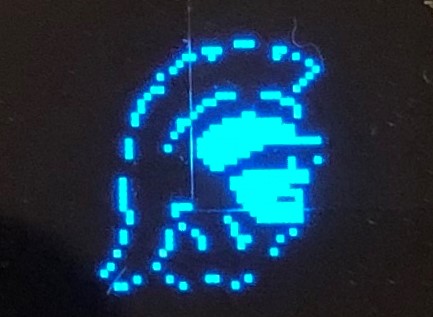 |
- White is the color that will be displayed on the OLED
Image Size vs. Canvas Size
- The source image may have different dimensions than the OLED
- The canvas is the complete 64 x 48 pixel area sent to the screen
- The converter scales or positions the source image within that canvas
- Blank areas of the canvas are still represented in the byte array
Settings
- Note
- The following settings are specific to the SparkFun Micro OLED
- The SparkFun library requires each bitmap to be specified as 64 x 48 pixels or 384 bytes (canvas size), even if parts of the image are blank
- Image settings
- Canvas size: 64 x 48
- Glyph: blank
- Scaling: Scale fit, keeping proportions
Settings
- Output
- Code output format: Arduino code, single bitmap (later in the source, change the declaration to
const uint8_t <PUT BITMAP NAME HERE>[]) - Draw mode: Vertical - 1 bit per pixel
- Code output format: Arduino code, single bitmap (later in the source, change the declaration to
Example: Converting an Image with Image2CPP
Image2CPP Settings
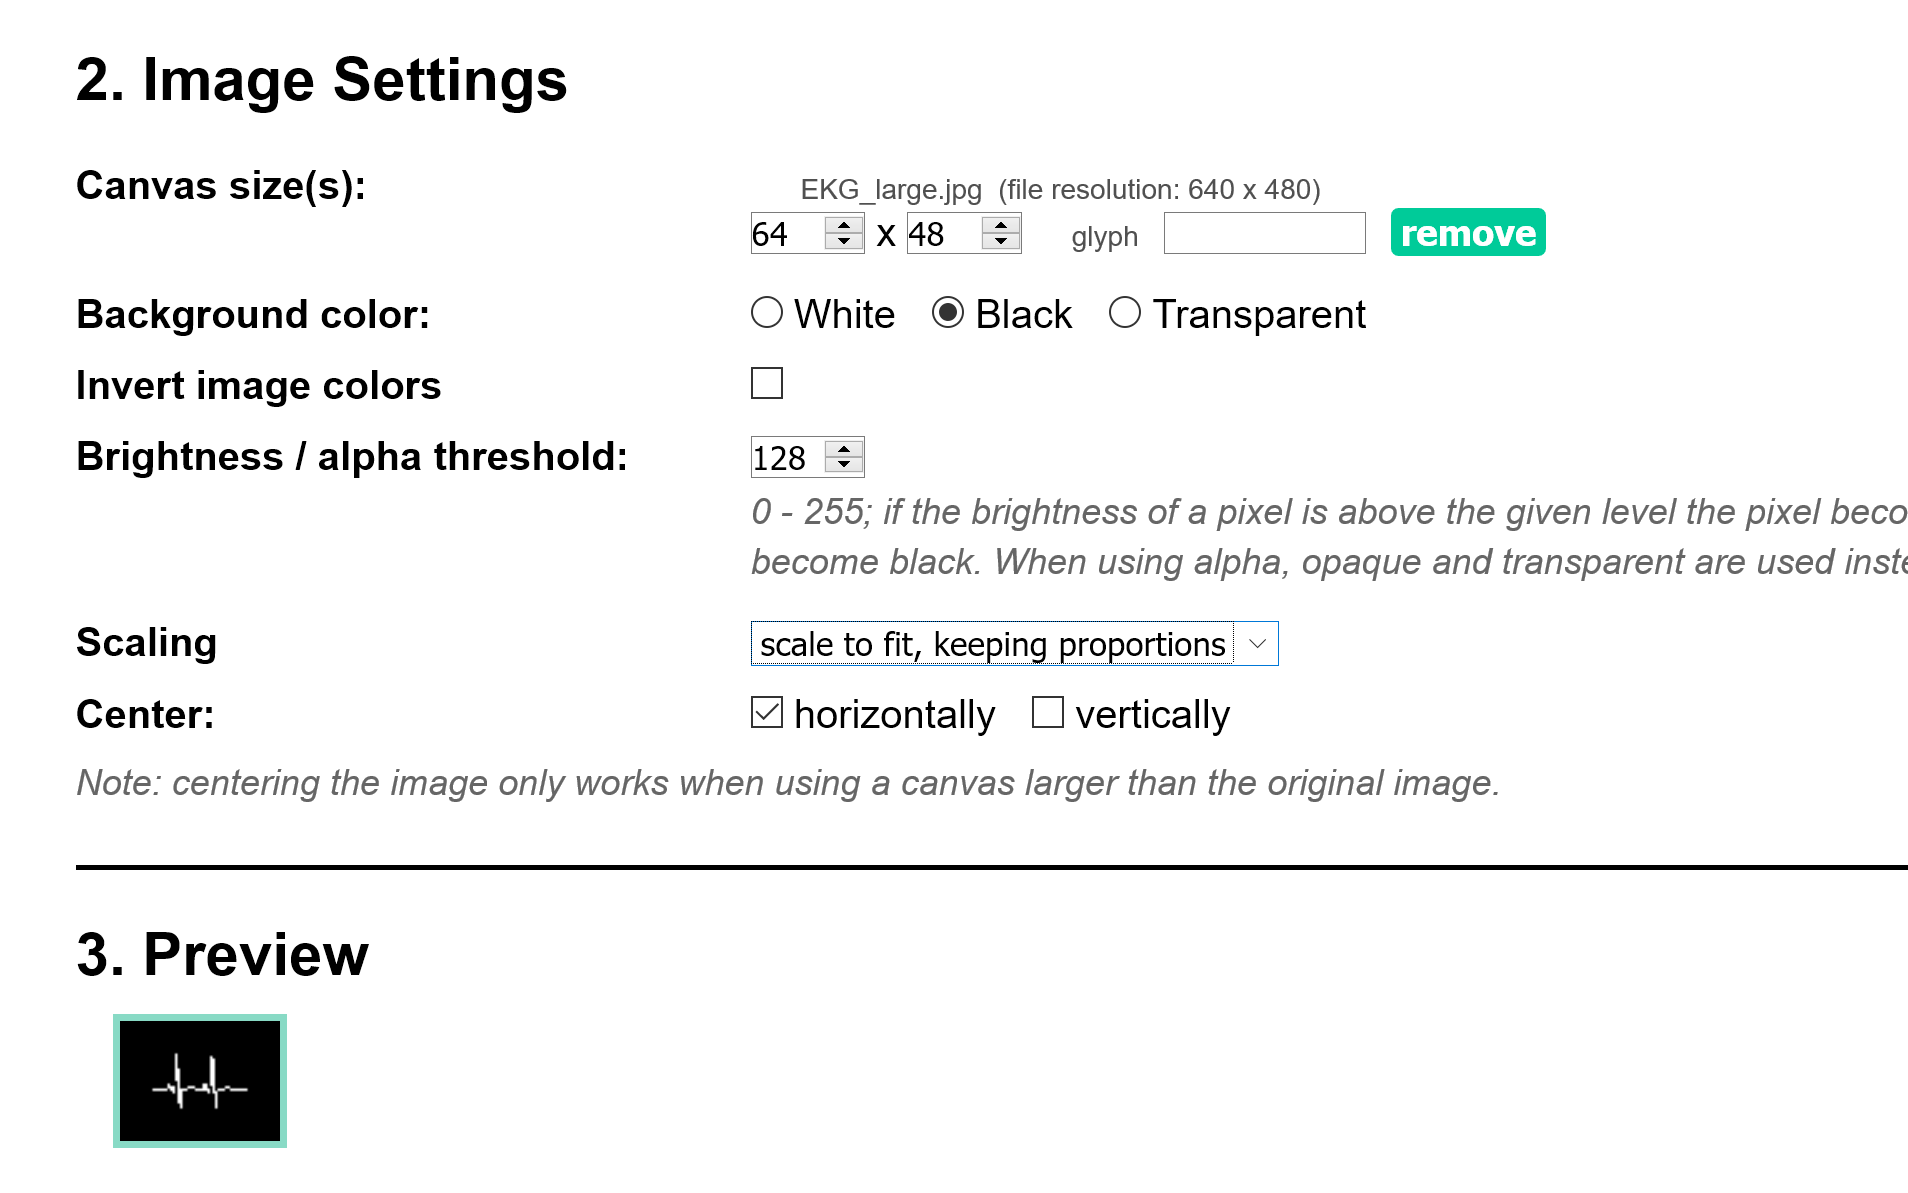
Image2CPP Preview
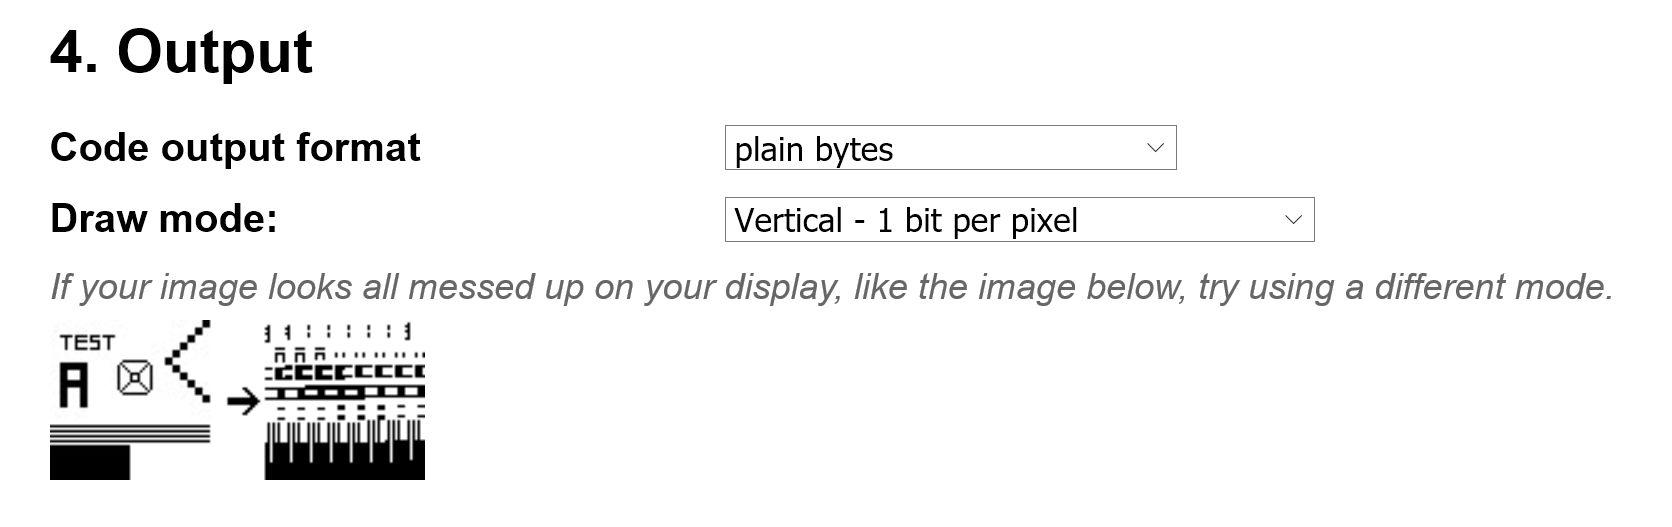
Image2CPP Output
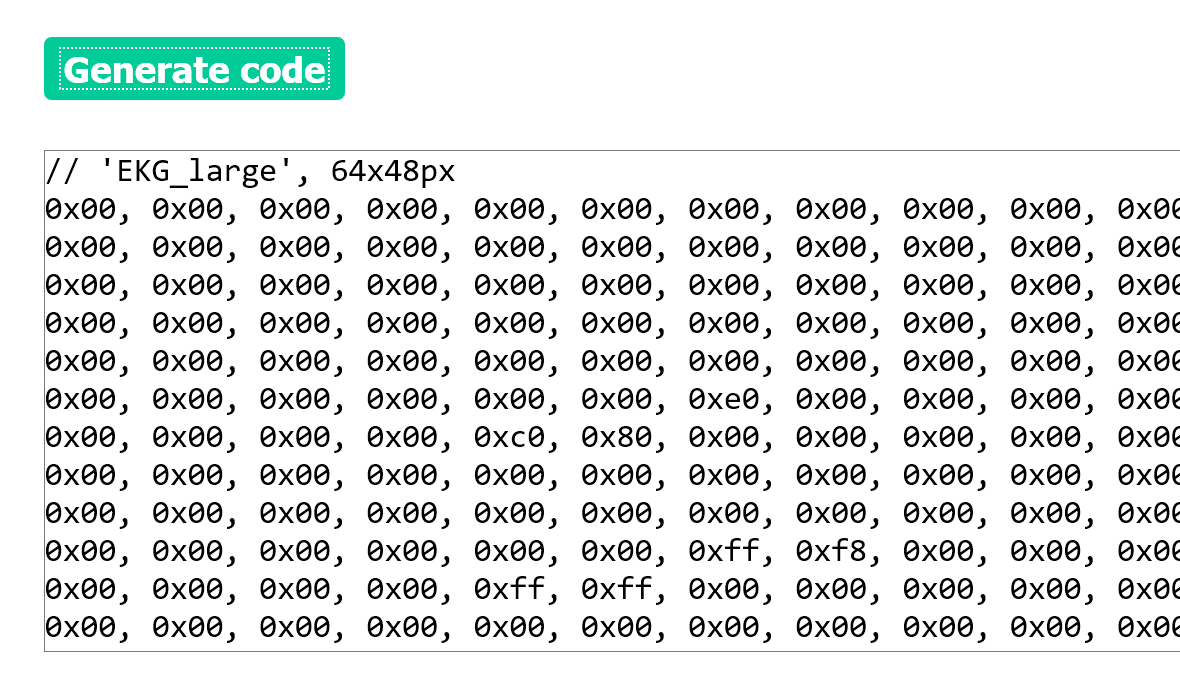
Storing Byte Array
- Create a
const uint8_tarray (byte array)
const uint8_t heart_bmp[] = {
  0x00, 0x00, 0x00, 0x00,
  0x00, 0x00, 0x00, 0x80,
  0xe0, 0xf0, 0xf8, 0xfc,
  ... };
- Use the library to display the bitmap
Tools for Converting Images to Bitmaps
- Online: Image2CPP
- Windows: LCD Assistant
- Mac: bitmapToC
Connecting Sensor Input to Display Output
- Trigger the ultrasonic sensor
- Measure the echo time and calculate distance
- Use the distance to make a decision
- Draw the matching text or bitmap
- Update the OLED